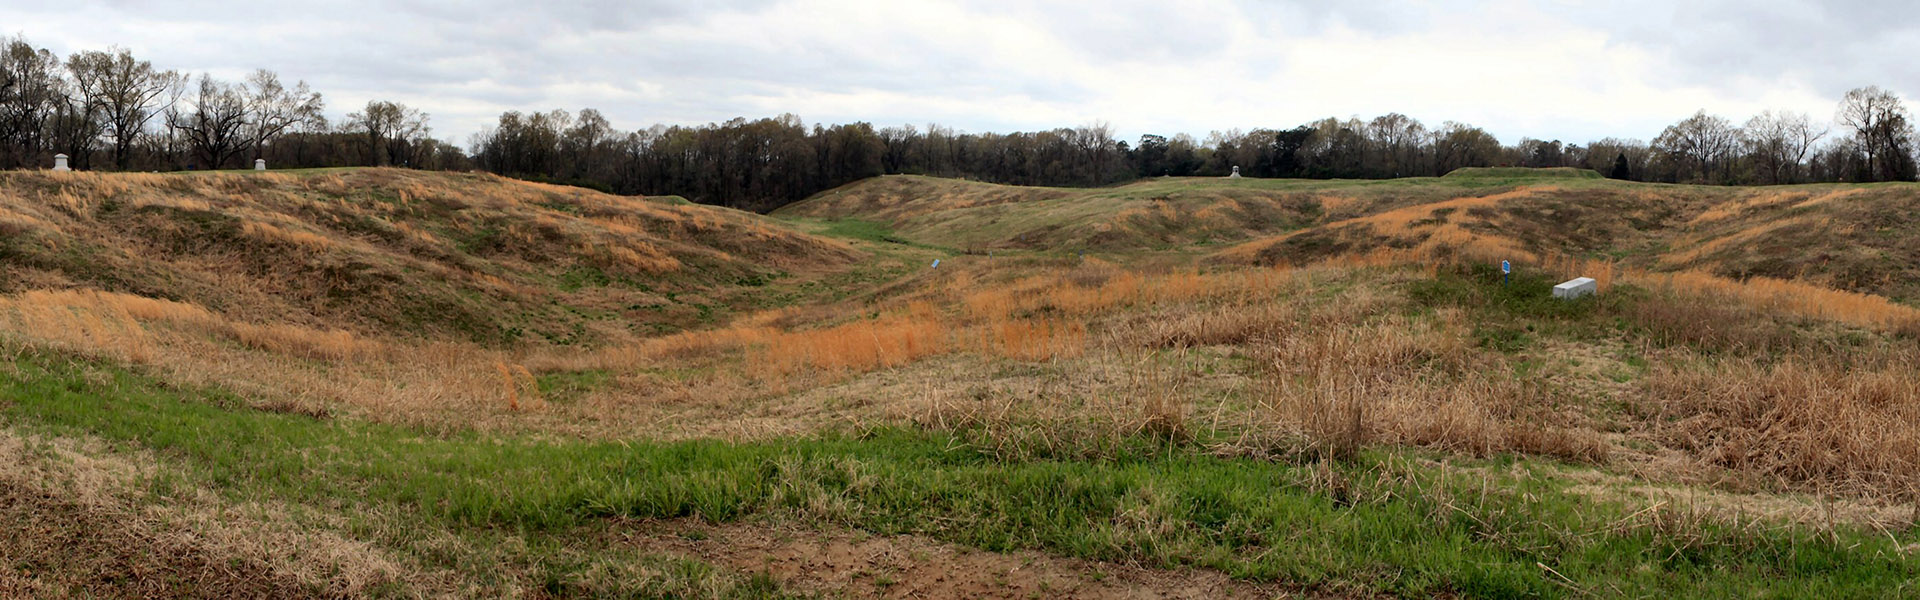
Taking the Wide View: Panoramas
Family Travel Photographs.com provides the following travel photography tutorial for photography and family traveler enthusiasts.
STEP 3: TRANSFER THE PICTURES TO YOUR COMPUTER
Transfer and convert your photos to JPEG but don't edit them
Transfer the pictures to your computer as you normally would. If you’re shooting RAW or NEF images – and I certainly hope you are! – you need to convert the pictures to JPEG for stitching.
Do NOT edit your panorama photos before converting to JPEG. I do a lot of editing before I convert to JPEG normally, but you can’t do that with panoramas. If you tweak your curves, adjust your exposure, pump up saturation or make any other changes to the pictures, they will no longer be consistent with the other photos in the series and they won’t stitch together properly. Clean up the pictures after you’ve stitched them together.
For now, just convert to JPEG.
Previous step: Shoot the pictures — Next step: Stitch the pictures together
Here are steps to creating panoramas:
Please help me get more visitors to Family Travel Photos.com!