
Taking the Wide View: Panoramas
Family Travel Photographs.com provides the following travel photography tutorial for photography and family traveler enthusiasts.
STEP 2: Shoot the Pictures For Your Panorama
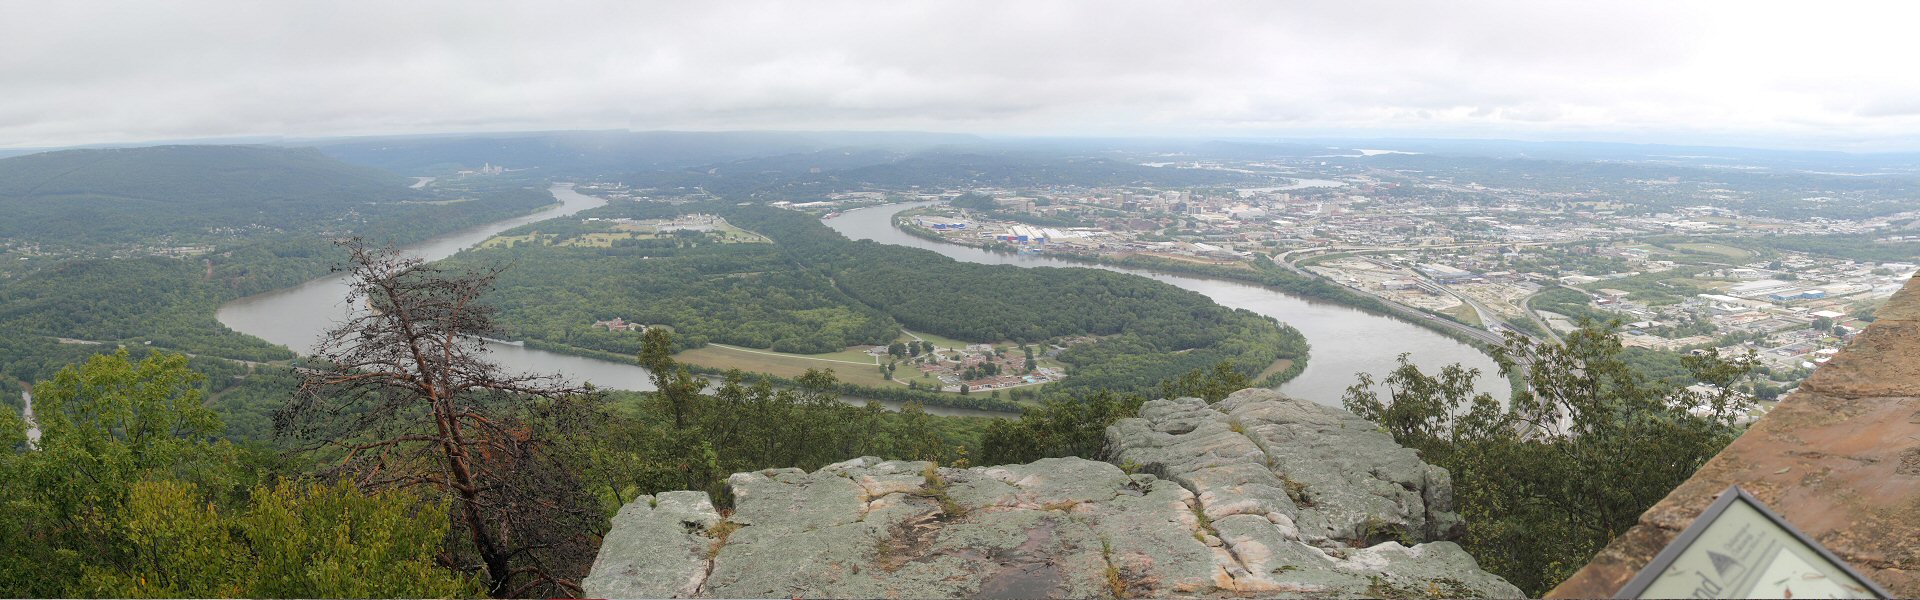
Successful panoramas require the right techniques when shooting the source pictures
You're standing before your scene, your camera is set up to shoot panoramas. It's time to take the pictures.
First, point the camera down to the ground and shoot a picture to mark the beginning of the series – this makes it easier to find the photos when you’re working on the computer. Just make sure your focus doesn't change when you point the camera down.
Then, point your camera so it captures the left edge of where you want your panorama to begin. Actually, just a little left of what you want as your left edge.
Now, turn your camera sideways so you are shooting in portrait orientation rather than landscape. Sounds counterintuitive, doesn’t it? The reason is that if your camera shoots 6000 x 4000 pixel images and you shoot landscape orientation, the height of your panorama will be limited to 4000 pixels. When you stitch pictures together you invariably lose part of the image at the top and bottom, so it will be even less than 4000 pixels when you’re finished.
If you turn your camera 90 degrees and shoot in portrait orientation you start with a panorama that is 6000 pixels tall. That gives you more error room and more pixels you can afford to lose while still getting a good panorama in the end.
With your camera pointing to the left edge and in portrait orientation, take your first picture. Now rotate your body slightly so that you’re viewing about half of what you shot before and the rest pointing at a new part of the scene. Shoot again. Rotate a little so you’re viewing half of your second image and half new material, and shoot again. Continue this shoot and rotate process until you have photographed the entire scene.
Why do you overlap the pictures? Why not just shoot a picture then get 100% new content to shoot for the next picture? Because that overlap is what allows software to merge the two pictures together. If there isn’t a significant overlap, the software has no way to determine how to connect the images together.
Another tip on shooting the pictures - do the rotation by turning at the waist. Do not move your feet. Do not bring the camera down from your face between shots. You want every picture to be on the same level as much as possible, and your point of rotation to be as small as possible.
If I am shooting a very wide scene, I will stand with my body facing the middle of the scene. I’ll rotate at my waist to the left to start, and then continue to rotate at the waist through the series. If I start with my body pointing towards the left I can’t rotate as far to the right without moving my feet.
When you’re done with your series of shots, I like to point the camera down to the ground and shoot a picture to mark the end of the series – this makes it easier to find the photos when you’re working on the computer.
Ready to shoot another panorama? Just repeat the steps I described above. I encourage you to check your metering and your focus between each series of panoramas in case something changed or the scene is different.
If you can do this from a tripod with a remote shutter release, you will probably take a better - or at least more consistently aligned - series of pictures than by doing it handheld. Just make sure that you overlap the photos as you rotate the camera on its tripod.
All done with your panoramas? Be sure to turn the auto focus back on and set your camera back to program or whatever metering you want to use. Same goes for the white balance.
NOTE: If you really want to get creative you can create a panorama that is a series of pictures across AND down. So, instead of 5 pictures across you might shoot 5 across, then go back and shoot another row of 5 below the first row, etc. I don’t see the need to do this as you lose the panorama effect that you’re trying to achieve in the first place. I guess if I wanted a final picture that could fill a billboard I might try this. Anyway, I just wanted to mention that as an option for you. It’s outside the bounds of this tutorial, but you can probably find more about it elsewhere on the web.
Now you’ve got your pictures taken. It’s time to bring them into the computer and stitch them together.
Previous step: Prepare the camera — Next step: Transfer the pictures
Here are steps to creating panoramas:
Please help me get more visitors to Family Travel Photos.com!